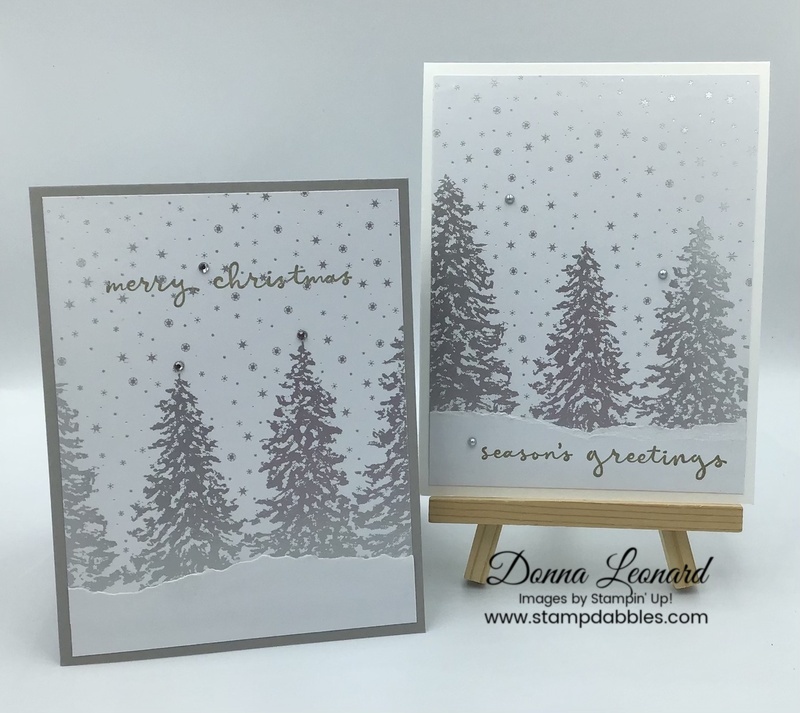
Are you looking for a quick and easy Christmas card that you can easily create multiples of? Then you might enjoy tonight’s cards. The design is the brain child of Connie Stewart of Simply Simple Stamping and I love it so much I wanted to share it with you! The star of the show is the Peaceful Place 12″ x 12″ Specialty Designer Series Paper, complimented by sentiment from Christmas to Remember Cling Stamp Set. Both are from the July – December 2021 Mini Catalog. This paper pack contains several sheets of DSP (3 different designs, 6 sheets) that are meant to create multiple cards. There are 2 of the particular printed design used in tonight’s cards which would make 12 cards total (add 24 more if you use the other 2 designs)!

I’ve used various colored backgrounds and embellishments, but you could streamline to one (you’re favorite) color and embellishment to speed things along and minimize cost. The Stamparatus is also useful when producing multiples, but not necessary. I’ve listed the various products that I used below, but not all of them are needed to make this card.
The Paper Cuts
- Peaceful Place 12″ x 12″ Specialty Designer Series Paper: cut 1-1/4″ off the all white side with the Paper Trimmer and then cut into 4″ wide strips. Cut the remaining DSP with the trees in half at 4-3/4″ and then into 4″ panels.
- Cardstock Card Bases (Cherry Cobbler, Evening Evergreen, Basic White Thick, Gray Granite): Six 4-1/4″ x 11″, scored at 5-1/2″ OR 8-1/2″ x 5-1/2″, scored at 4-1/4″ (3 sheets of 8-1/2″ x 11″ cardstock)
- Basic White Cardstock: Six 4″ x 5-1/4″ panels (inside)
The Creating
First, tear one long edge of the 4″ x 1-1/4″ strips for the snowscape.
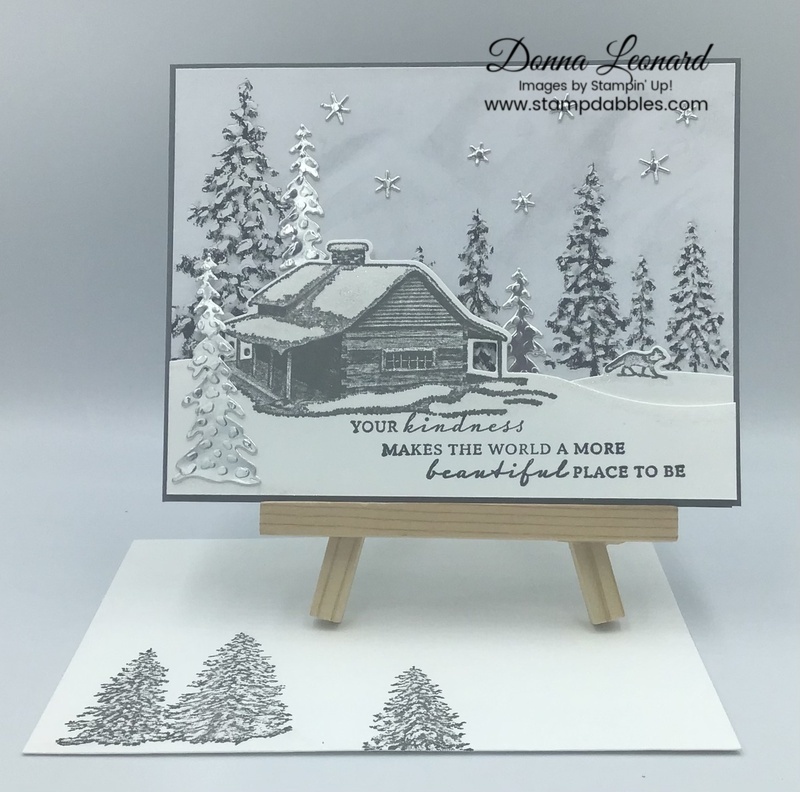
Next, stamp the sentiments on the snow panel or the tree panel. I did some of both because I couldn’t decide between the two!

Stamp the inside sentiment of your choice on the Basic White panels ink color that coordinates with the card base.
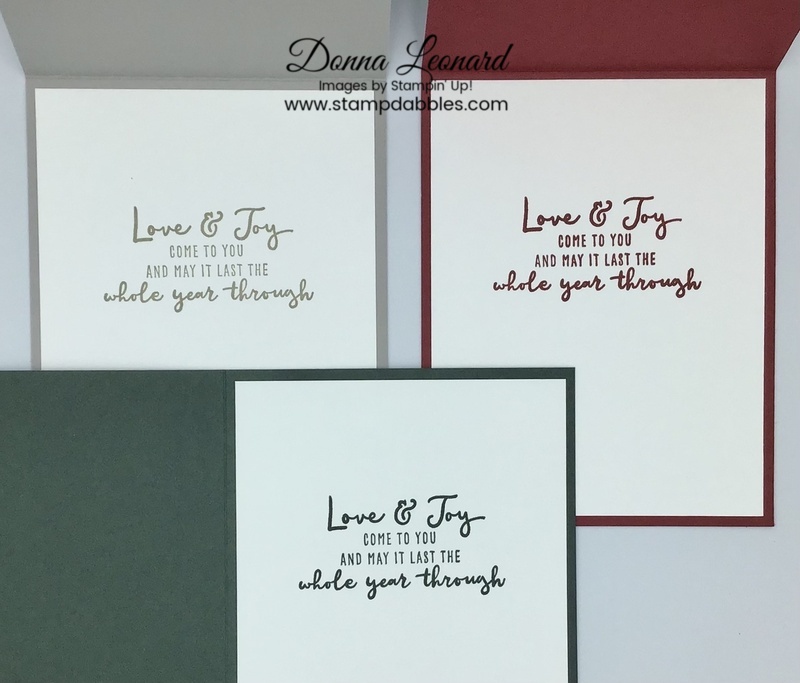
To assemble, adhere the tree panel to the front of the card base aligning the top edge equally with the sides. Adhere the snowscape strip to the bottom edge leaving the same spacing as the sides. Apply embellishment of choice (the Take Your Pick Tool putty tip makes this quick & easy). Adhere the stamped Basic White panels to the inside of the card base.

Thank you for stopping by. If you have any questions or need a catalog, I’d be very happy to be your Demonstrator. You can drop me an email at stampdabbles@gmail.com. I’d love to hear from you!
Happy Stamp Dabbling!

- Visit my online store here.
- The current Host Code is RYYGJHYG
- Shop the Clearance Rack here.
- Reserve a Paper Pumpkin Subscription here.
- New to Stamping? Check out the Beginner’s Brochure here.
- Earn FREE Stampin’ Up! Products – See Customer Rewards here. It’s my way to say thank you!
- In addition to my online store, I also take PayPal payments for orders. See the bottom of the Customer Rewards page here for details.
- Click here to purchase your Starter Kit. ($125 ion product for $99)!
October Host Code:
Use this host code when you order $50 or greater and receive a free gift from me! If your order is over $150, please do not use this code – you’ll still get the free gift. The free gift is your choice of any item valued up to $10.00 in the current Stampin’ Up! catalogs, including the Host Exclusive stamp sets! See my Rewards page for full details.
Make sure that you can see my name on the final checkout page listed as your Demonstrator when you order so that you know that you’re ordering with me and you’ll get my rewards!
Product List
 Specialty Designer Series Paper")
")


")
")